
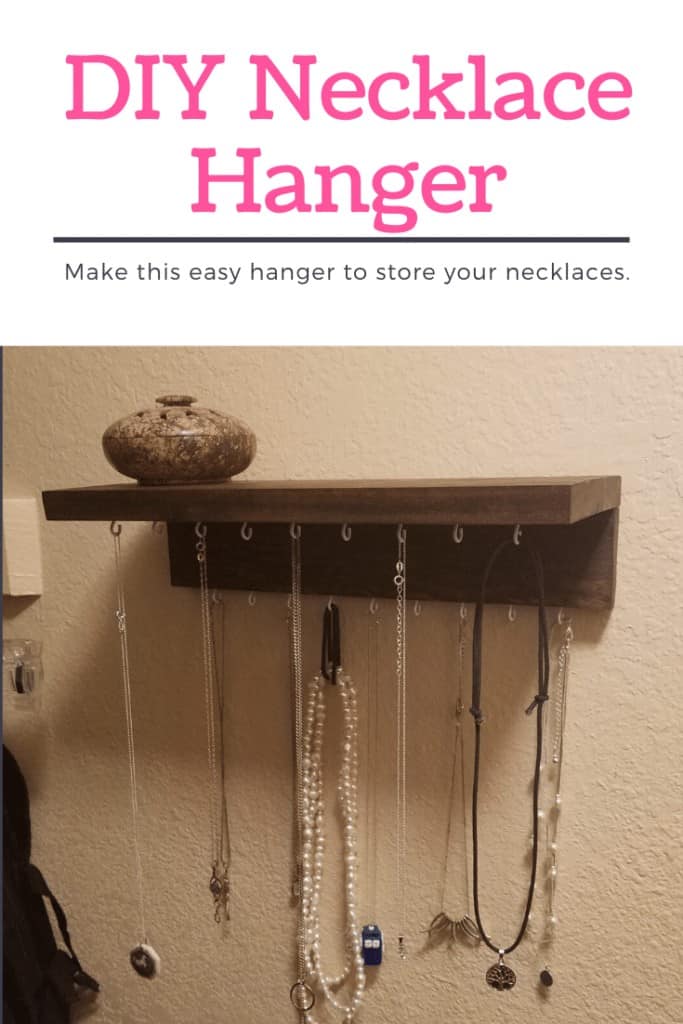
Necklaces are difficult to store. If you leave them in a pile, necklaces get all knotted up. The best way to store necklaces is to have them on a necklace hanger. Ideally, the necklace hanger also needs to be taller than your longest necklace. In this post, I will give instructions for making a wall mounted necklace holder for cheap.
Materials Needed
- Two pieces of wood for the shelf.
- Cup hooks
- Self leveling picture hangers
- Wood screws – check out this kit if you an assortment of screws
If you’re in a hurry (or just curious!) –
✅ Check out this similar hanger on Amazon here.


For this project, I used scrap wood that I had lying around. I used a 16″ piece of 1″ x 8″ and a 16″ piece of 1″ x 3″. This project will also require cup hooks. For mine, I chose to go with white hooks that have a 1/2″ hook like these. I also used two screws and two self-leveling picture hangers like these. Finally, I also used some of my favorite stain to color and seal the wood.
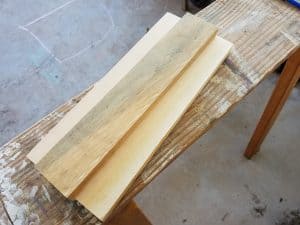
To start, cut the wood pieces to the same length. Sand the wood as necessary to remove any rough spots and slightly knock down the edges. Decide which part of each piece of wood is going to face ‘out’. For my necklace holder, I chose to have a pair of knots in the wood facing out.
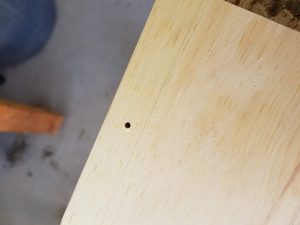
Place the two pieces of wood in an ‘L’ shape and mark how they line up. I placed my 1″ x 8″ piece on top, and attached the smaller 1″ x 3″ below that. Use the line to pre-drill two holes for the screws to connect the two pieces together. Since I am not going to be looking at the top, I chose to just drill straight down from the top. You could just as easily drill from the ‘back’ through the top piece. I placed my screw holes about 4″ in from the outer edges of the shelf. Place the two pieces together and screw them in place to make your ‘L’.
Looking for a similar project that uses similar parts? Check out this Hall Organizer Station.
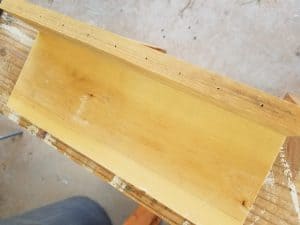
After your two pieces are screwed into their ‘L’ shape, next is marking the locations for the hooks. First, mark a line on your wood for the hooks to go along. I have a line on the bottom back of the shelf and a line 2″ from the bottom front of the shelf. Then mark the location for each hook along the lines. 1 3/8″ was the perfect distance for my necklaces and hooks. If you have a lot of chunky necklaces or want a large necklace holder, you want to have more spacing between your hooks. Pre-drill each of these holes for the hooks, making sure to not drill through your wood. Sand your wood again to knock off any rough spots or ‘dangly bits’ from your necklace holder.
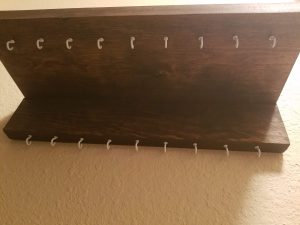
After the final sanding, wipe your shelf clean with a rag. I chose to stain my shelf my favorite dark brown, but you could just as easily paint yours. If you are staining or painting your shelf, do that now. After the stain or paint has dried, it is time to add the hardware to your necklace holder. Add the back self-leveling hangers first. Make sure that you mount them level on your shelf to make hanging it easier. Then, screw in all of your hooks.
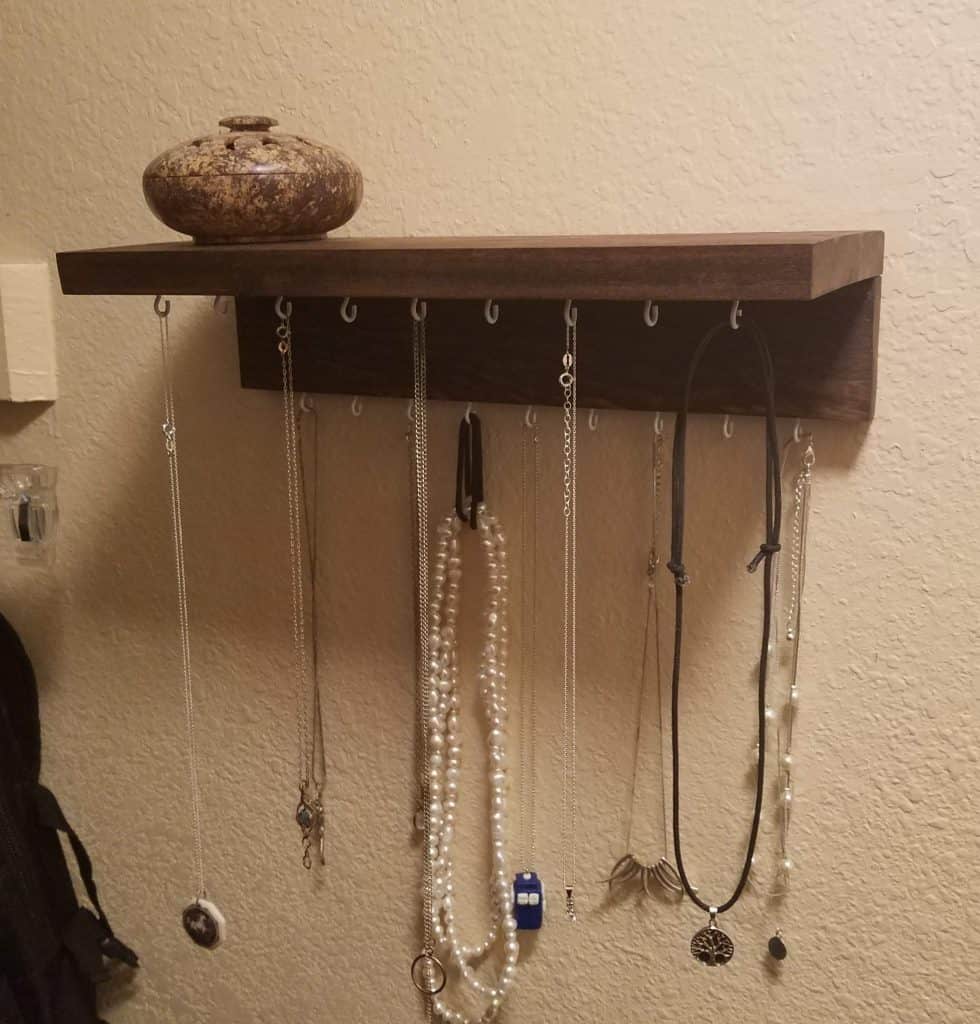
Mount your new necklace hanger to the wall, and add your necklaces. Enjoy having a way to store your necklaces that makes it easy to find and use the one you want.
Related Posts
- Want to make your DIY projects better? Check out this post and learn how to pick the best wood for DIY projects.
- Looking for tips on how to stain wood? Read this post about staining floating shelves.