
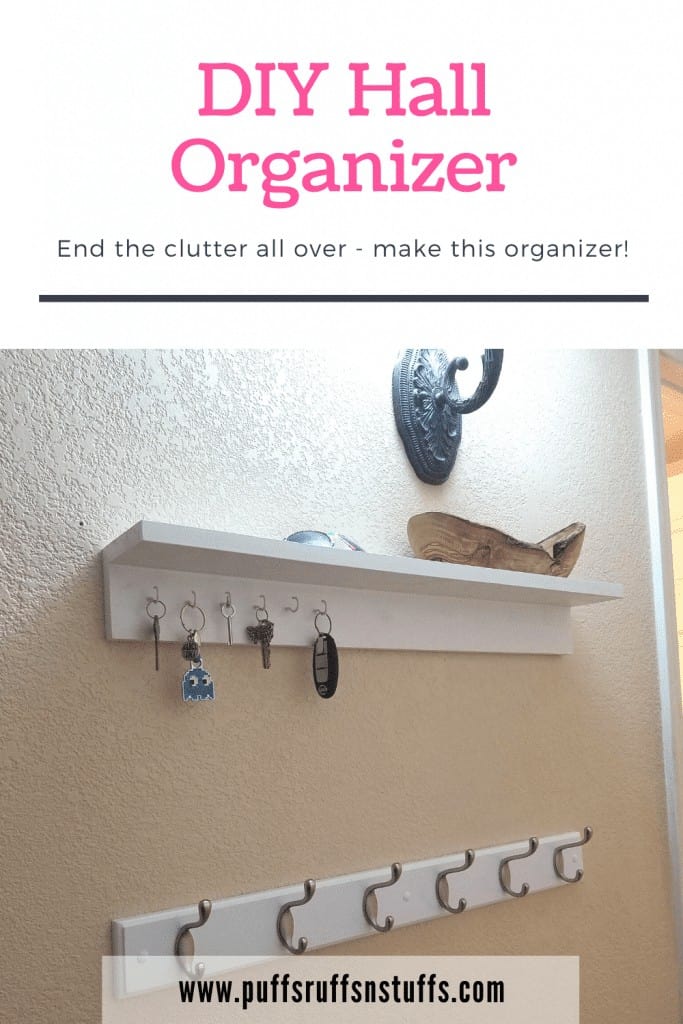
Are you thinking about making a DIY Key Organizer? Are you looking for some way to organize the things you need for leaving the house? Bags, backpacks and jackets go great on this hall organizer station. It even has a good spot for keys and storing small objects like sunglasses and pocket contents. This was a super easy project but it has a HUGE impact on keeping my house clean. Keep reading to find out how to make your own DIY Key Organizer to add to a Hall Organizer Station.
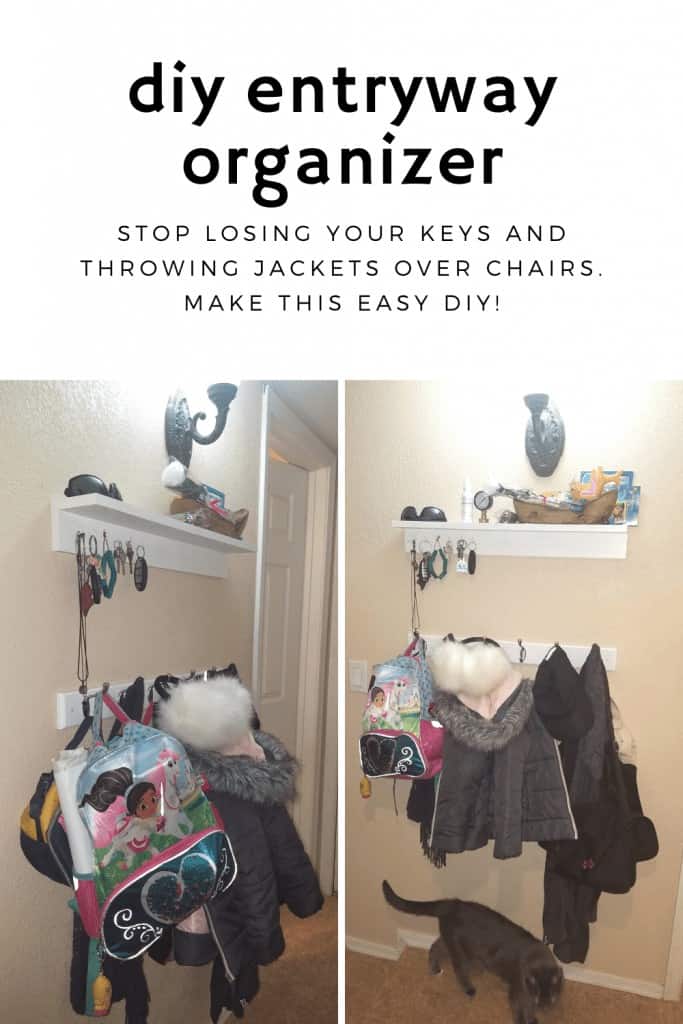
I can’t believe how long it took me to make a hall organizer station. Having this has reduced so much clutter in my house. I love this sucker. Backpacks have a place go to, keys have a home, and jackets can sit by the door ready go to. No more backpacks on the floor, jackets thrown over chairs, or lost keys! If you want to skip making things entirely, buy this shelf and this coat rack. They’d go go great together and give a similar look.
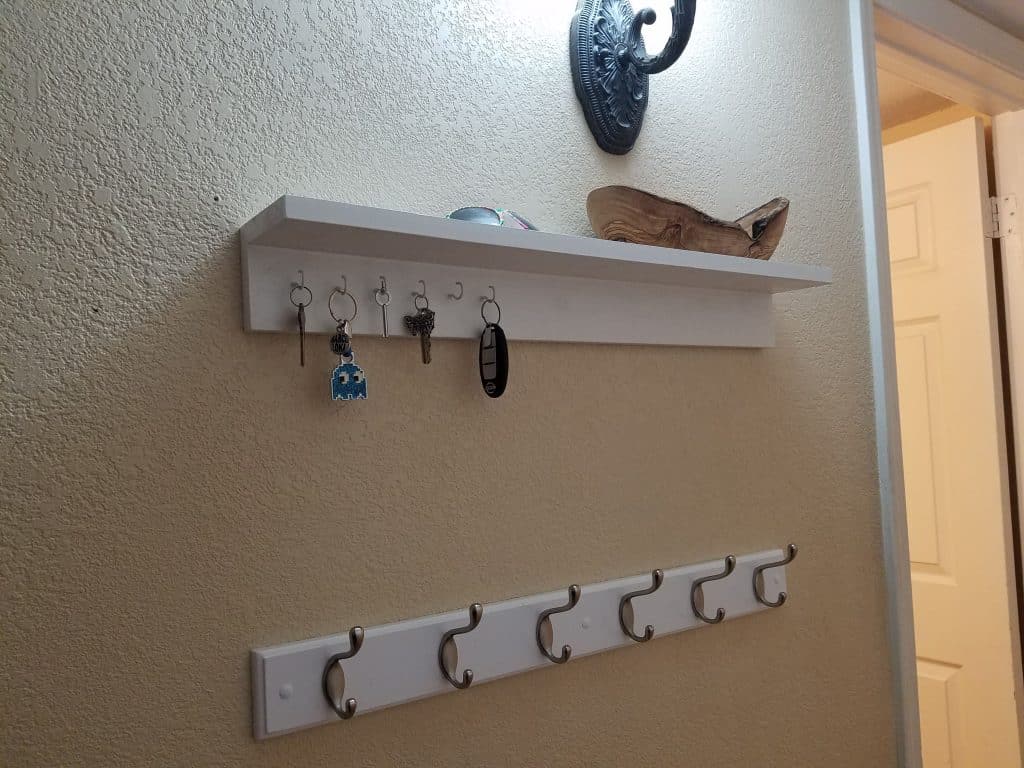
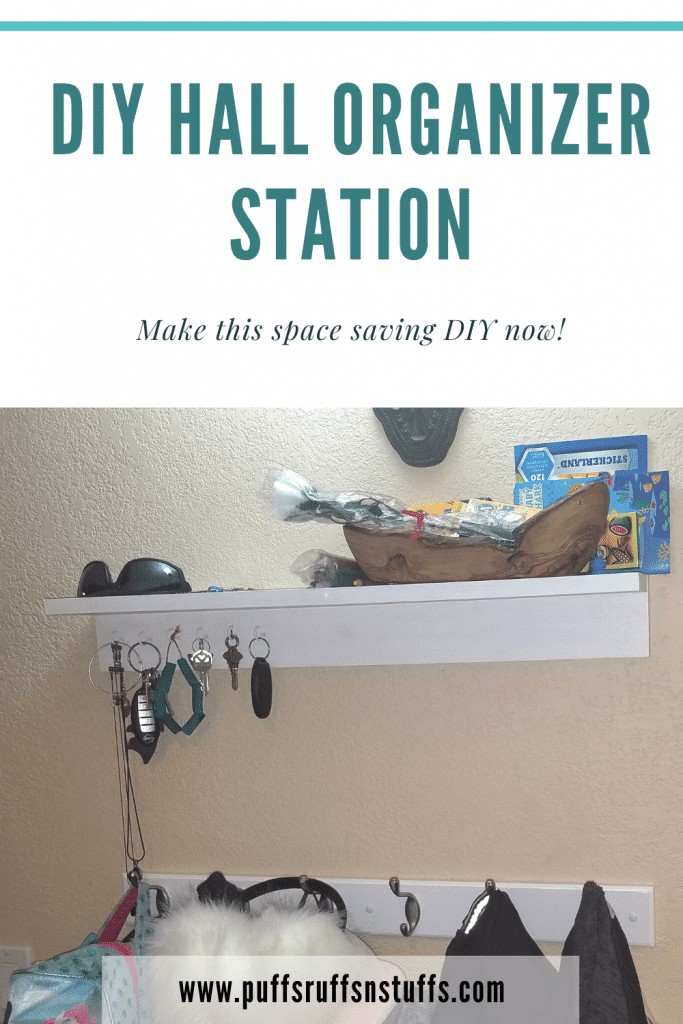
This DIY Hall Organizer Station is comprised of two parts. There’s a DIY key organizer – a wood shelf with some key hooks. There is also a bottom set of larger hooks for holding jackets and bags. I’ll be honest, I totally cheated for the bottom part and bought a wall rack that already had hooks on it. If you can get a good deal on one it can be cheaper than buying the hardware individually.
The top shelf + key holder is what you’ll be making here. The shelf is based on this necklace hanger DIY project. A hall organizer shelf project is super great if you have some scrap wood that needs to be used up. 1″ x 3″ lumber works really well for this project. Make sure you cut your wood to match the length of your wall rack. You’ll want to follow the same steps from the DIY necklace hanger project to build the the wall shelf.
Once you have your shelf built, if you are painting it you will want to caulk and putty any joins in the wood. I like using this caulk. This will give it a more finished and professional look. Let the caulk and putty dry, then sand the shelf if needed so that it’s smooth. Wipe any dust off with a rag and go ahead and paint your new shelf.
After the shelf is painted and dry you can add the hooks for your keys. For the hall organizer, you probably won’t want to have as many hooks as the necklace hanger. 6 or 8 hooks should be enough. For an asymmetrical look you can add all of your hooks to just one side of the hall shelf.
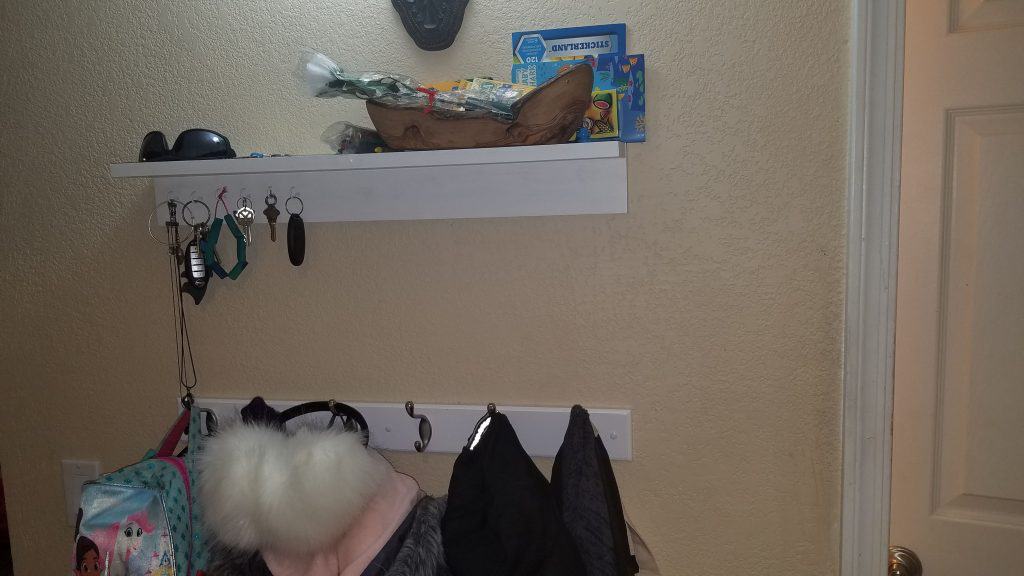
Mount your new shelf and coat rack on the wall near your door and your DIY Hall Organization Station is done. Look at all that stuff not on the floor!
Related Posts
- Just starting woodworking? Check out this post and learn which essential woodworking tools you need.
- Already have some tools? Check out this post about how to pick the best wood for your DIY project.